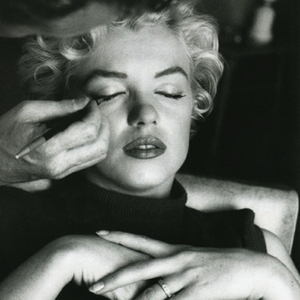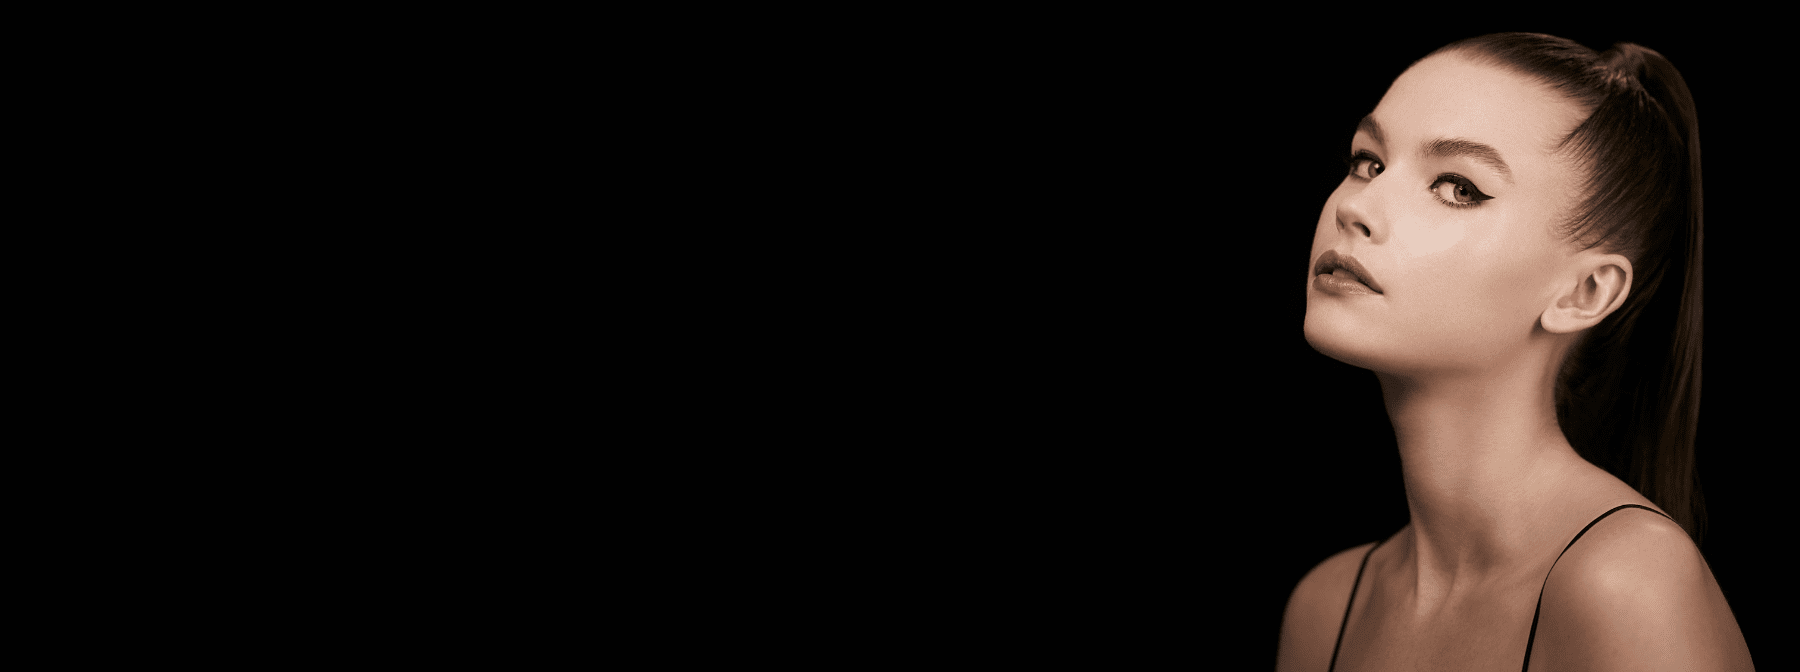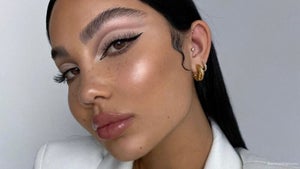
Eyeliner: a makeup bag staple since the dawn of cosmetics. From the Ancient Egyptians to classic Hollywood legends and the iconic Amy Winehouse, winged eyeliner has been a makeup classic for centuries. The classic winged eyeliner look helps us feel empowered for generations. Where would we be without our trusty eyeliner pen or a precision eyeliner?
Winged eyeliner application is a makeup skill we’re all looking to perfect. Whether you’re a professional artist or a makeup fanatic, applying winged eyeliner can be very tricky to master. Our Director of Artistry Pablo Rodriquez gives us a step-by-step winged eyeliner tutorial to show how to achieve the perfect winged eyeliner look.
https://www.youtube.com/watch?v=20C5zAHjnLE
FOR A WINGED EYELINER LOOK YOU WILL NEED:
- Powder Eyeshadow: in brown, grey or black to build a template guide for you to follow when applying your winged eyeliner. Eyeshadow is easy to wipe away if mistakes are made.
- Angled Brush: an angled brush is perfect for creating a dramatic brow, but can also be used to create a precise eyeshadow outline for your eyeliner.
While the type of eyeliner you use is completely up to you, the below options are preferred for this winged eyeliner tutorial:
- Precision Gel Liner: water resistant and long wearing, this precision eyeliner gives intense single-stroke colour.
- Illustrator Pen/ Liquid Eyeliner: black liquid eyeliner pen to create a sharp eyeliner look with more ease and control.
- Colouring Eye Pencils: use shade S.O.P.H.I.E, a black pencil eyeliner, for pin-point definition and smooth gliding-application.
- Liner Brush: ultra-thin brush to create a defined line for a precision eyeliner look.
- Smudge Brush: small, round brush to smudge out your eyeshadow.
Masquara Raven: ultra-glossy and volumising in a jet-black finish to complete your look.
HOW TO APPLY WINGED EYELINER
STEP ONE: CREATE YOUR OUTLINE
If you struggle to get the shape of your winged eyeliner just right, sometimes it’s best to create an outline that you can follow. Always start with the eye you find the most challenging then, using our Angled Brush, apply a brown or grey eyeshadow if you have fair skin, or a black eyeshadow if you have a deeper skin tone.
Apply along the top lash line, extending it out to your desired length to create the shape of the wing you want to achieve. By using an eyeshadow to map this out, it’s easier to correct than directly going in with liquid eyeliner.
STEP TWO: APPLY THE EYELINER
For this next step you can choose between a precision eyeliner, a liquid eyeliner pen or a black pencil eyeliner.
Use our Liner Brush and begin applying Precision Gel Liner on top of your eyeshadow template going from thick to thin, covering your wing completely. Extend the wing as you like.
If you prefer a liquid or pencil eyeliner, use our Illustrator Pen or Colouring Eye Pencil and trace along the eyeshadow template as a guide. Start with the wing and continue across the lash line, filling in.
To make the wing crisp and graphic, use a cotton bud to sweep up from under the wing to sharpen the point.
STEP THREE: EYESHADOW
Using the same eyeshadow from step one, apply along the lower lash line with our Smudge Brush to create a shadow. Focus more on the outer corner for an intense finish, adding definition to the overall look.
STEP FOUR: CURL AND COAT
Curl your lashes to achieve an extra lift, then apply Masquara to the bottom and top lashes. Apply a second coat to your top lashes to make them look thicker and give a lift to your eyes.

Related Articles
