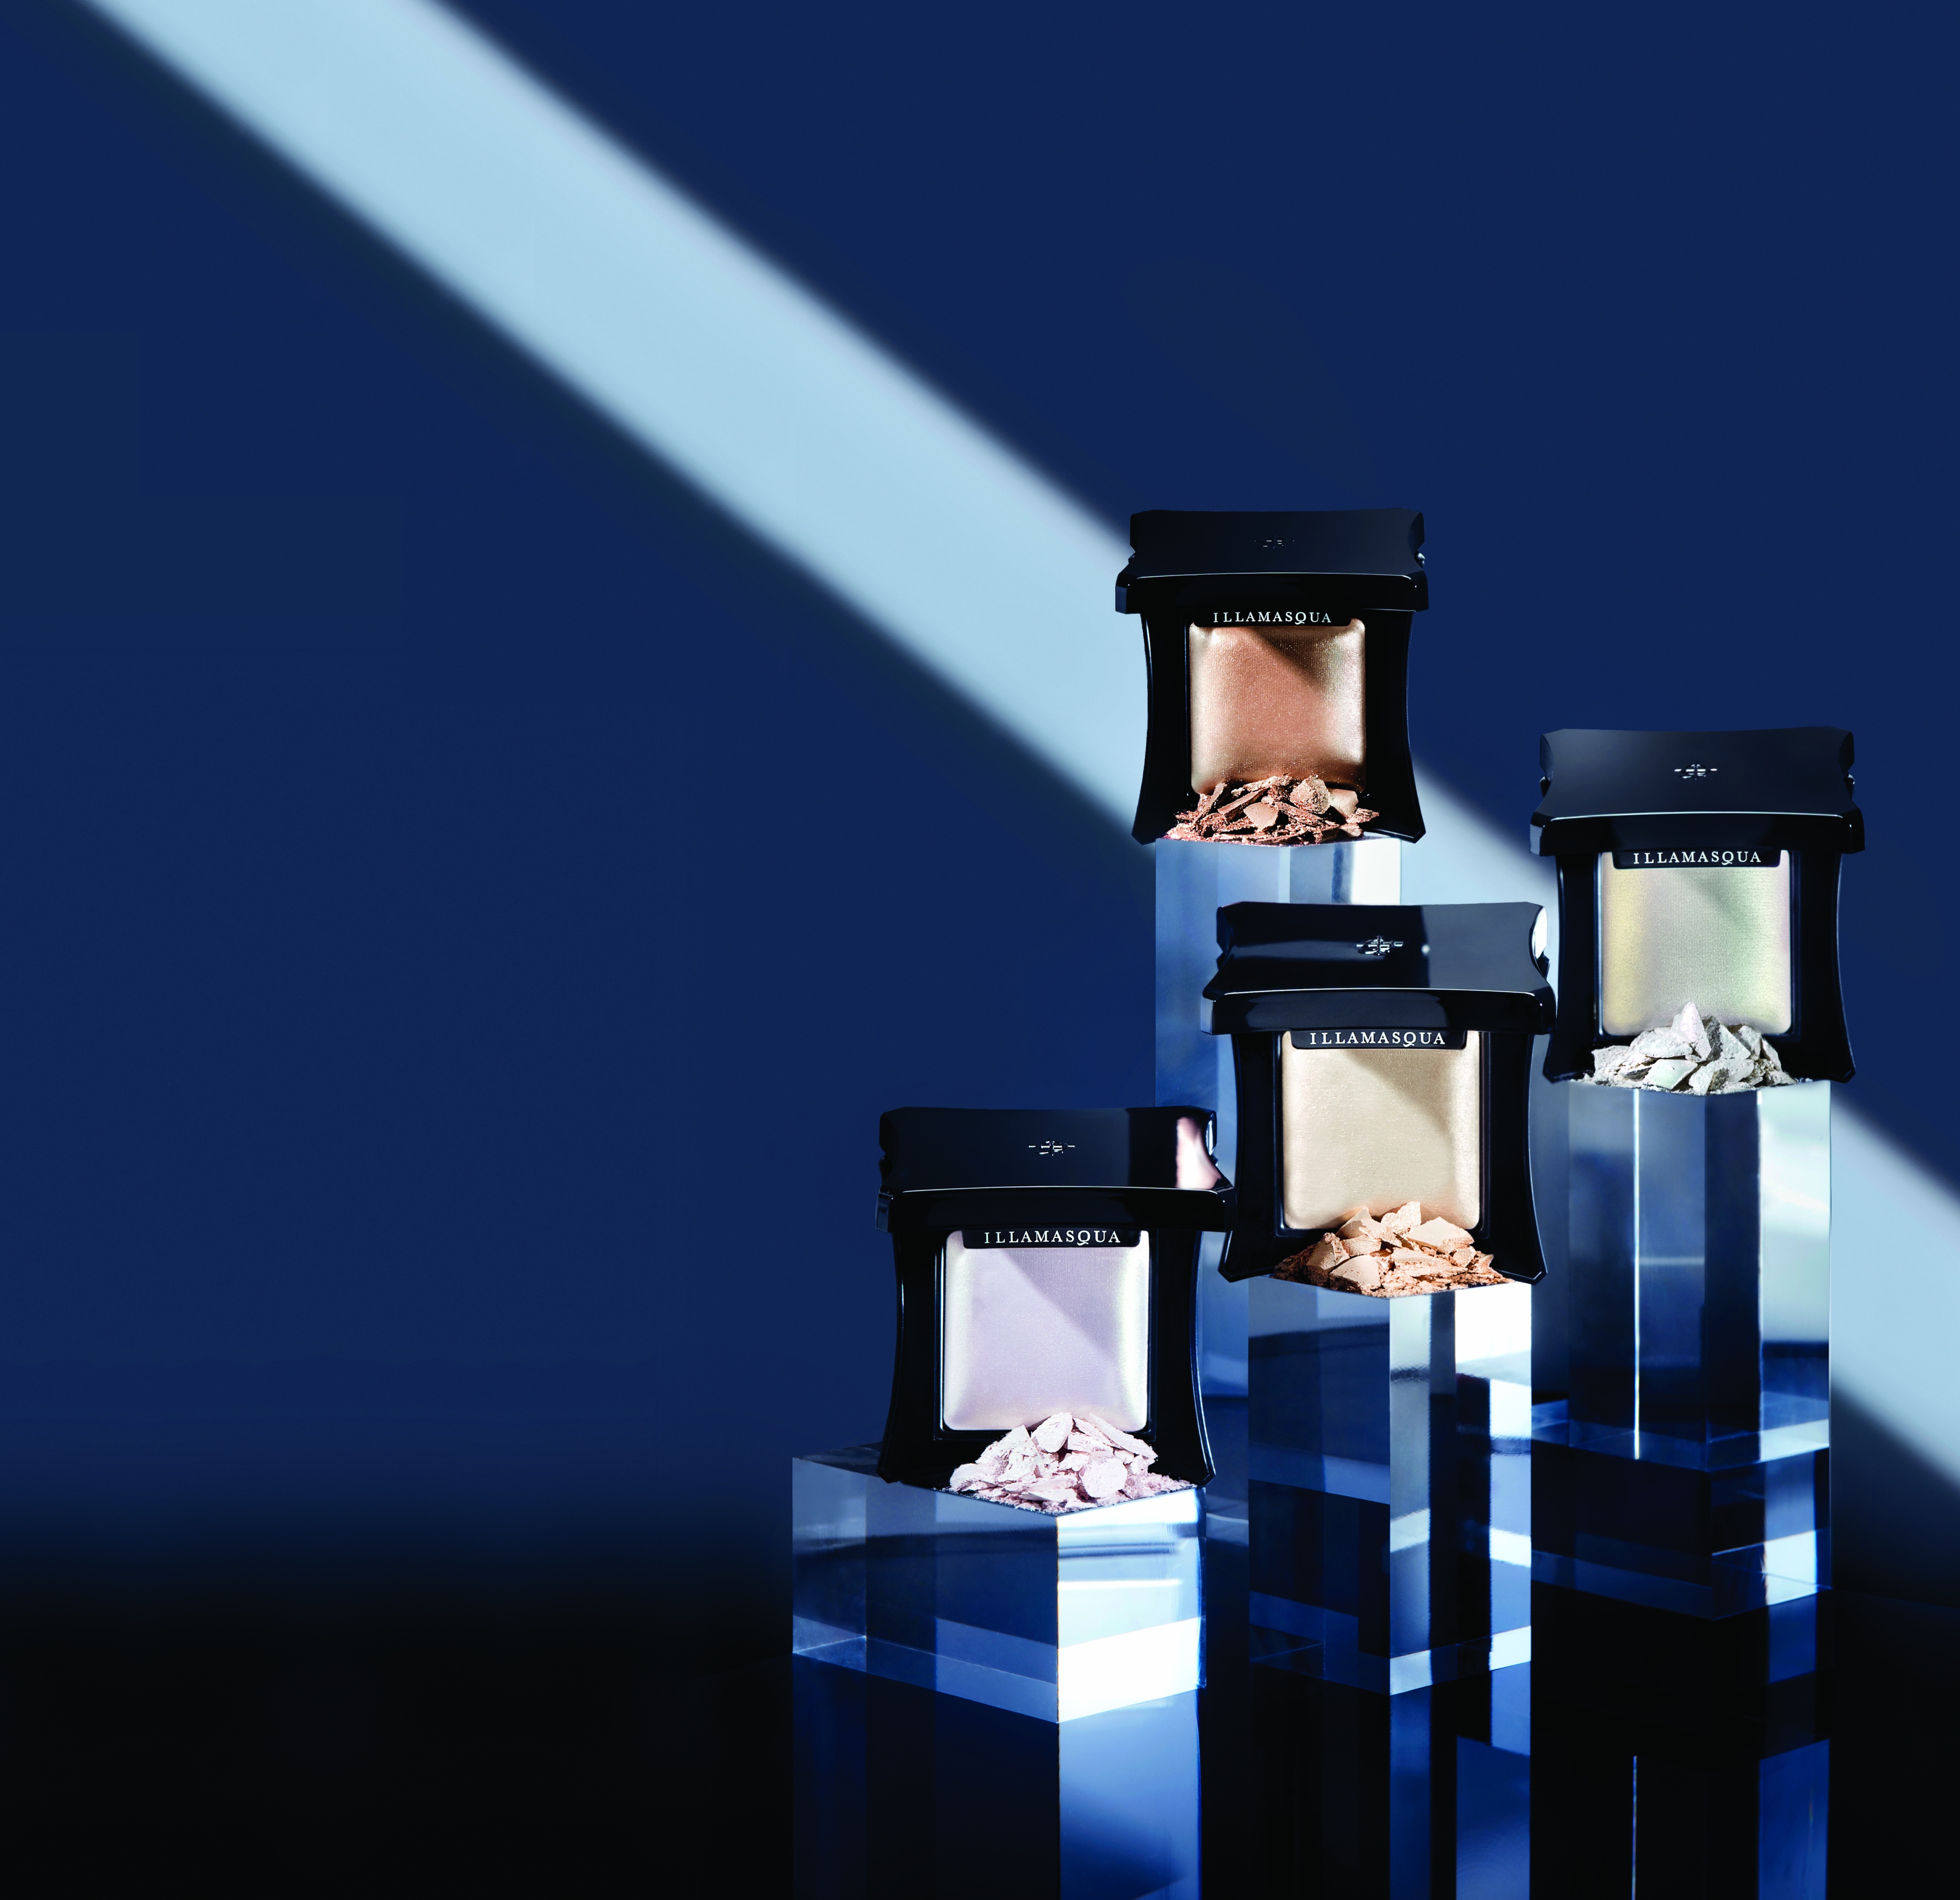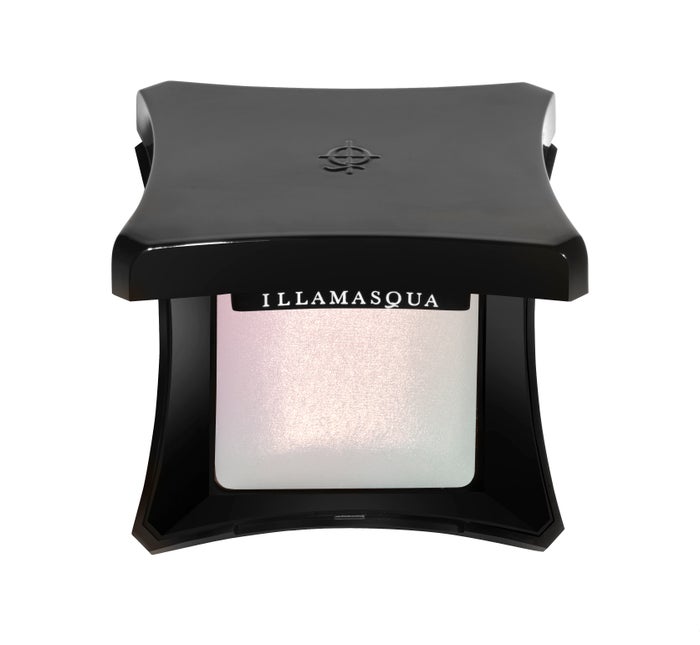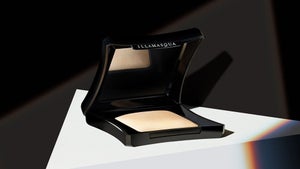
To celebrate the launch of our new Daze highlighter, we would like to introduce the ultimate guide to our beloved Beyond Powders.
This guide will give you all you need to know about all four of the shades of our Beyond Powder highlighters, including how they can be used to create different looks depending on your skin tone, with advice from our very own Nilly Mussa - Head of Artistry here at Illamasqua.
First, let us take you through each shade in a little more detail:
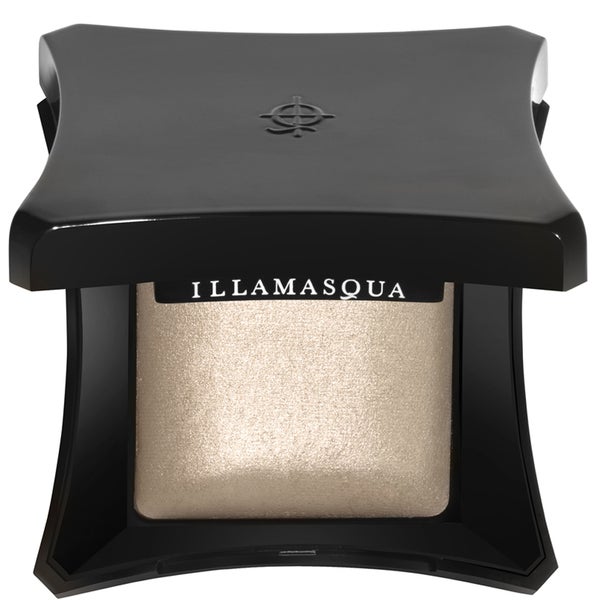
OMG
Who for? Best results on fair and medium skin tones. OMGis also great at calming and reducing any redness on cool and neutral skin tones.
Characteristics: A soft, shimmery champagne colour, perfect for creating a natural, radiant glow. OMGcan be used to give face an all over glimmer, or can be solely used to emphasise high points of the face. OMG can also be used soft, every day eye shadow, or try using to accentuate collarbones.
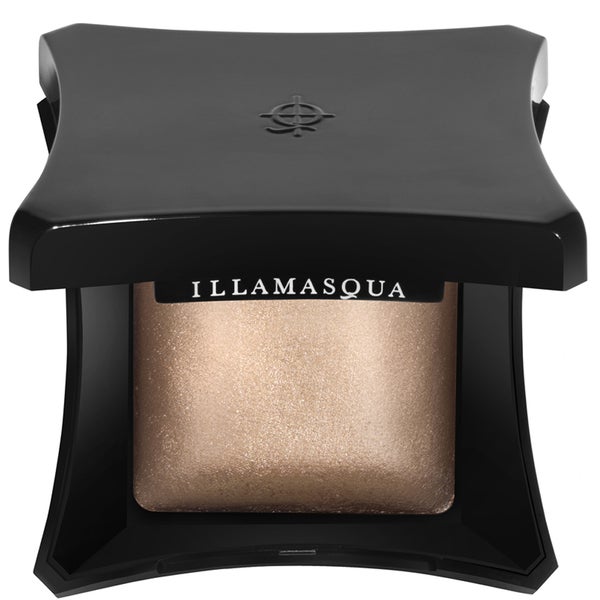
Epic
Who for? Best results on medium and deeper skin tones.
Characteristics: The deep, golden shimmer of the Beyond Powder in Epicinstantly adds a sun-kissed warmth and brightens deep skin tones. Again, this shade also makes a great eye shadow and will accentuate collarbones.
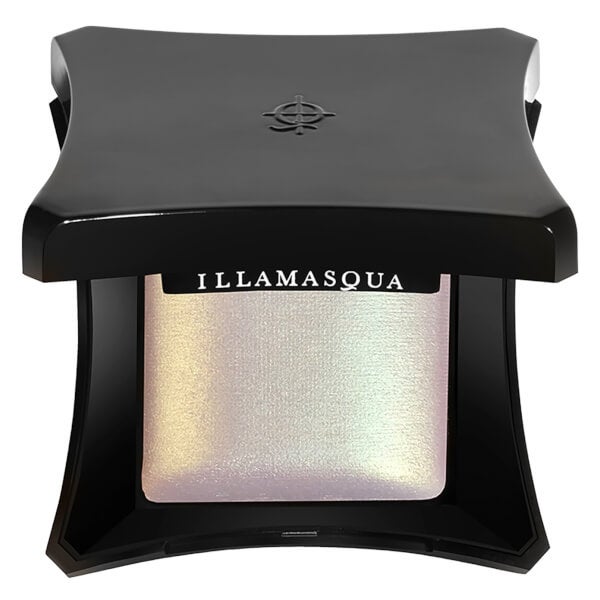
Deity
Who for? Best results on fair and deep skin tones.
Characteristics: The green undertone ofDeityhelps to instantly calm redness on cool skin tones to give you the ultimate radiance. Can be used with our Angled Cheek Brushto enhance and add drama.
Daze
Who for? All skin tones. However it will look more natural on fair skin tones and intense on medium/deep skin tones.
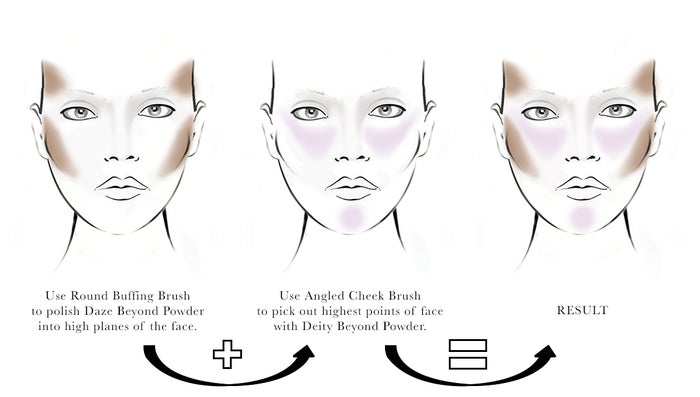
Characteristics: Pink undertone helps to perk up a sallow/dull complexion. Can be polished into skin using our Round Buffing Brush to bring out natural high points, or can be sweeped onto cheekbones with our Angled Cheek Brush for intense highlight. Used alongside Deity, a holographic highlight can be achieved.
ONE PRODUCT: ENDLESS OPPORTUNITIES
HOW TO USE YOUR BEYOND POWDER TO CREATE DIFFERENT LOOKS
Not many people realise this, but there are different ways you can wear your Beyond Powder to create various looks. So whether you want to use your Beyond Powder for an everyday, natural highlight or if you are wanting to create a dramatic, wet-look highlight, look no further.
We spoke to our head of artistry, Nilly, who talked us through the different looks that can be achieved with your beyond powders...
ENHANCE - POLISHED PIGMENTS
This one is all about flaunting your natural skin
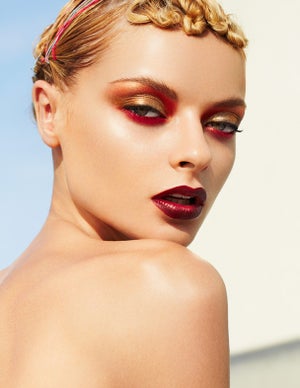
This look involves polishing the skin to reveal a natural shine or lustre and is derived from traditional 'stone polishing' techniques. "Make sure you really take time hydrating and moisturising your face prior to make up application" advises Nilly. "The trick is to use minimal product but really polish it into the skin so it melts and diffuses, revealing a satin glow. The more you buff/polish the Beyond Powder into the skin, the more it disperses, resulting in a natural finish."
DIRECTIONS
"I would recommend Beyond Veil to start with as the pearlised pigments will illuminate the facial structure before make up" explains Nilly. "Then, use your Round Buffing Brush to buff your preferred shade of Beyond Powder into the high planes of the face using a polishing motion. The trick is to use minimal product but really polish it into the skin so it melts and diffuses revealing a satin glow. Finish by eliminating any unevenness on the skin by using Skin Base Foundation in areas that need it."
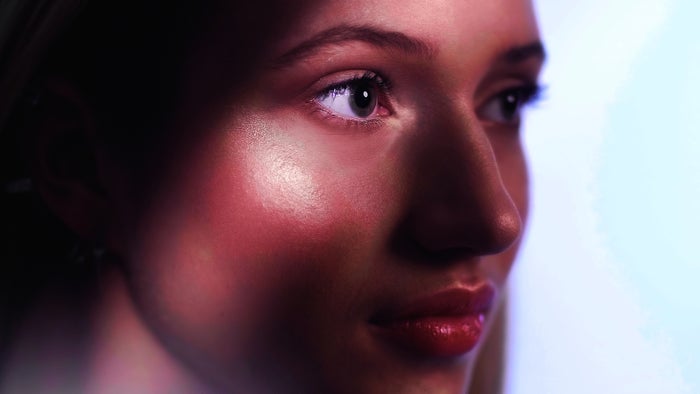
EXPRESSIVE - WET LOOK HIGHLIGHT
This one is about high-shine drama
We suggest using your Angled Cheek Brush for this highlighting technique as a one-sweep action delivers maximum product payoff compared to buffing with a round brush. The Angled Brush is also ideal to fit facial angles.
DIRECTIONS
"After perfecting the base with Skin Base Foundation and Skin Base Lift Concealer, knock back the contours of the face using Gel Sculpt orSculpting Duo" suggests Nilly. "Load up your Angled Cheek Brush with your favourite Beyond Powder and sweep across the cheekbones and any other area you want to highlight. Next, dampen your brush with water (make sure you squeeze out any excess moisture) and pick up some more Beyond Powder. Gently press this over any highlights you really want to amplify. This results in a high-shine mirror effect."
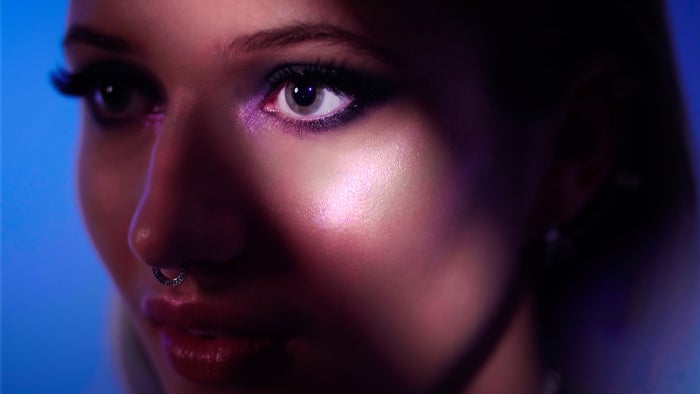
EXPERIMENTAL - HOLOGRAPHIC HIGH
This one is for out-of-this-world highlights
DIRECTIONS
"Start with a perfected base using Skin Base Foundation and Skin Base Lift Concealer" advises Nilly. "You then want to use a combination of Beyond Powders in Deity and the brand new Daze Beyond Powder to highlight the skin. Deity is a green-gold, whilst Daze is an electric pink, meaning they compliment each other as they sit on opposite ends of the colour spectrum. Therefore when the colours are put side by side, they appear much more intense than they actually are. Deity and Daze paired together give a holographic effect which is perfect for those who like to make a statement with their make up. Start with Deity and pick out key highlight areas of the face. Then take Daze and carefully underline some of the Deityhighlights so one colour sits next to the other. As you turn your head, the light will pick up the different pigments and result in a holographic finish." We suggest using our Angled Cheek Brush for this look as it makes it easier to strategically place your Beyond Powder.
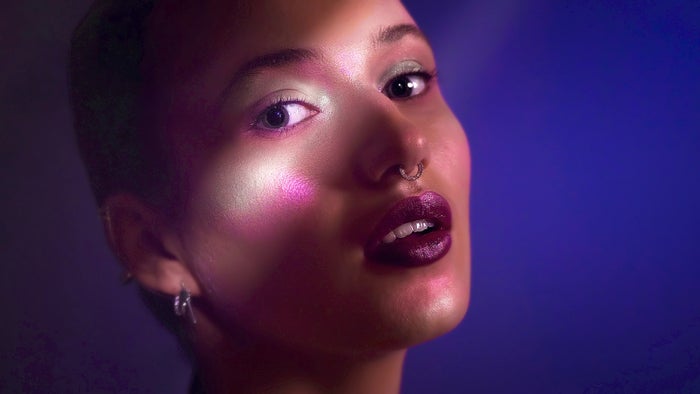
SKIN TONE
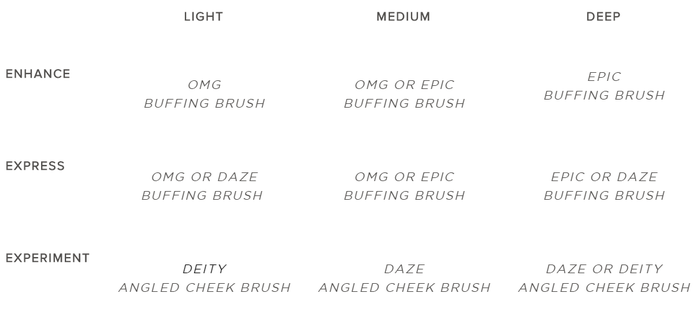
Each of our Beyond Powders will compliment each skin tone differently.
The following table gives you an indication of which Beyond Powders are best for creating the Enhance/Express/Experiment looks for each skin tone to help you pick your perfect match:
FACE SHAPES
In order to get the best results from your highlighter, it's important to recognise your face shape and apply your highlighter accordingly. The following face charts show you where you should be applying both your highlight and contour:
OVAL
SQUARE
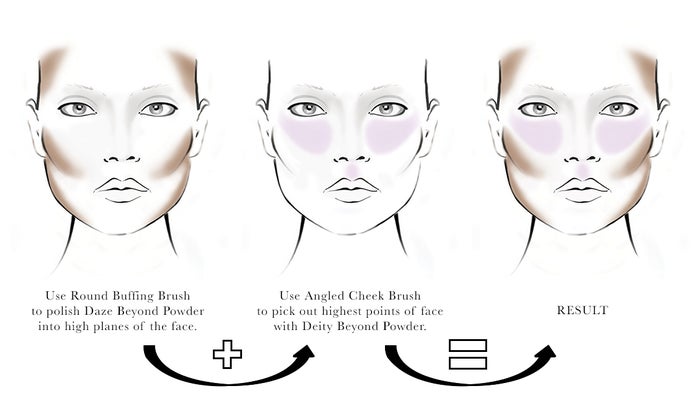
HEART
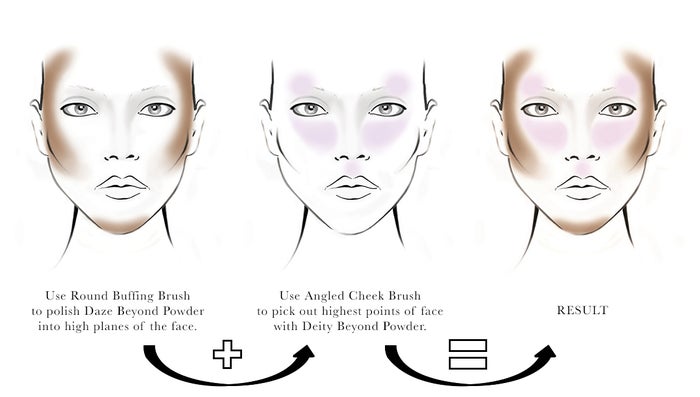
ROUND
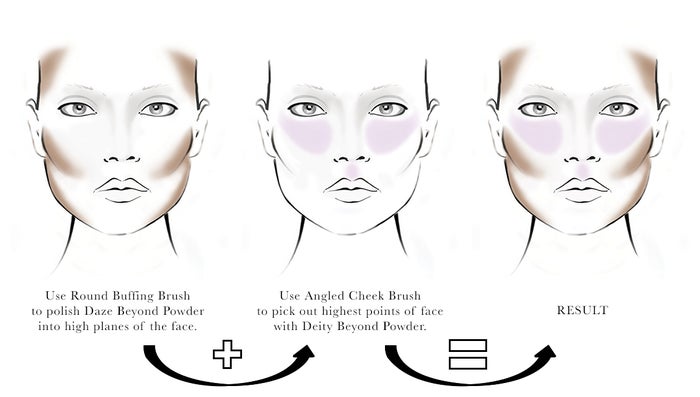
We hope you have found this guide useful and now understand the various ways in which you can get the most out of our beloved Beyond Powders.
https://www.youtube.com/watch?v=Kx3DqAH_JdA
FIND YOUR NEAREST STORE HERE
SHOP THE PAGE
REMEMBER TO TAG US @ILLAMASQUA AND SHARE YOUR LOOKS USING THE #ILLAMASQUA HASHTAG. WE CAN’T WAIT TO SEE THEM!

